
This is a simple Photoshop tutorial to treat some kinds of images. It doesn't work with all kind of images, but it works with most of portraits.
So, let's get it started. Grab the best picture you have. <br />
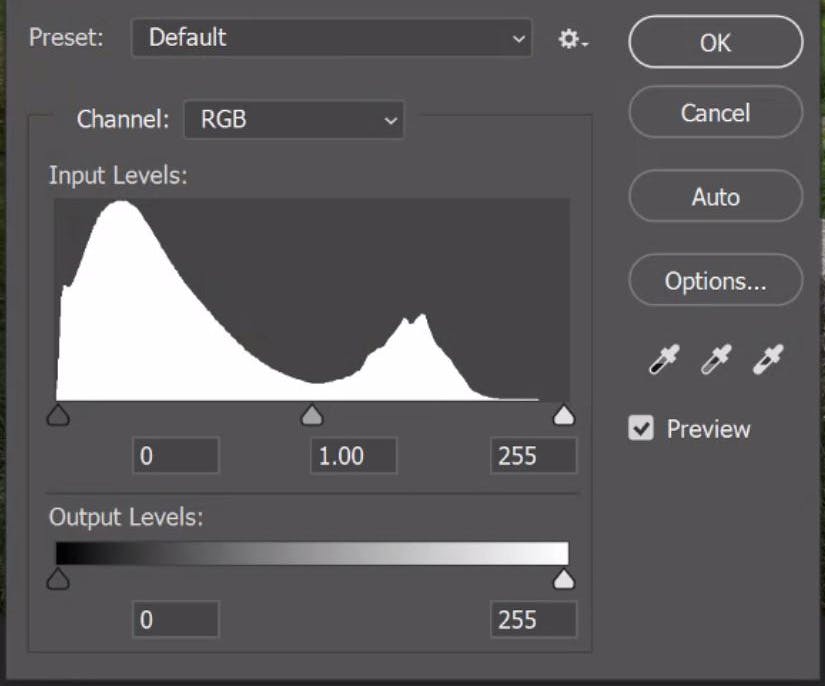
Step 1: <br /> After opening the file go to the top menu and select Image>Adjustments>Levels. Move the left and right arrows to the levels starting point (see the image below). <br /> <br />
Step 2: <br /> Now you will create a new layer. Click on the icon inside the Layers tab to create a new one. <br />
Step 3: <br /> Go to the tool bar and select the Gradient tool. Select the "color to transparency" preset and invert the transparency (see image below). <br />
Step 4: <br /> Make a radial gradient above the whole image using the new layer you've created. Change the new layer Opacity to 60%. Select both layers pressing the Shift key and merge them. (Top Menu>Layers>Merge Layers) <br />
Step 5: <br /> Go back in the Levels adjustments and repeat Step 1. <br />
Step 6: <br /> Go to the Top Menu and select Image>Adustments>Color Balance. Increase the yellows and reds moving the adjustment arrows. <br />
Step 7: <br /> Go to the Top Menu and select Filters>Sharpen>Sharpen. The image below is your final result. <br />
Try testing it with different kids of images and customize this tutorial steps as you like to see what happens. Have fun!